Old plant pots can often look tired and worn, but instead of throwing them away, you can give them a new life with a bit of creativity and a few simple materials. Whether your pots are made of clay, ceramic, plastic, or terracotta, DIY projects can transform them into stylish, personalized pieces that match your home decor. In this article, we will explore several ways to refresh old plant pots with DIY techniques, giving them a fresh look while keeping your plants housed in beautiful, functional pots.
Why Refresh Old Plant Pots?
Giving your old plant pots a new look not only saves you money but also allows you to personalize your home in a way that’s unique to you. Over time, pots can become chipped, faded, or simply outdated, but with a little DIY creativity, you can turn them into beautiful pieces that complement your decor. Additionally, recycling and repurposing old items is an eco-friendly choice that helps reduce waste.
By refreshing your pots, you can create a cohesive look that matches your style, whether it’s bohemian, modern, rustic, or tropical. These DIY projects are easy to do, and the results can elevate your plant display, making your plants and pots a focal point in your home.
Materials You’ll Need
Before getting started on your DIY pot refresh project, gather the following materials:
- Sandpaper (for smoothing out rough areas)
- Primer (if you’re painting or using a new material)
- Paint (acrylic paint works well for most pots)
- Decorative items (such as fabric, rope, or paper)
- Mod Podge (for decoupage projects)
- Decorative stones or pebbles (optional)
- Painter’s tape (for creating patterns)
- Brushes, sponges, or rollers
- Stencils (if you want to add intricate designs)
- Clear sealer (to protect your designs)
Depending on the project, you may also need additional materials such as fabric or rope for wrapping, tiles for mosaic designs, or even metallic leaf for a shiny finish.
DIY Ideas for Refreshing Old Plant Pots
Here are some creative and easy DIY ideas for refreshing old plant pots:
1. Paint and Pattern Techniques
One of the easiest ways to give an old pot a new look is by painting it. You can choose from a variety of styles, from bold and colorful to neutral and minimalist. If you want to add some extra flair, try using patterns or stencils to make the pot stand out.
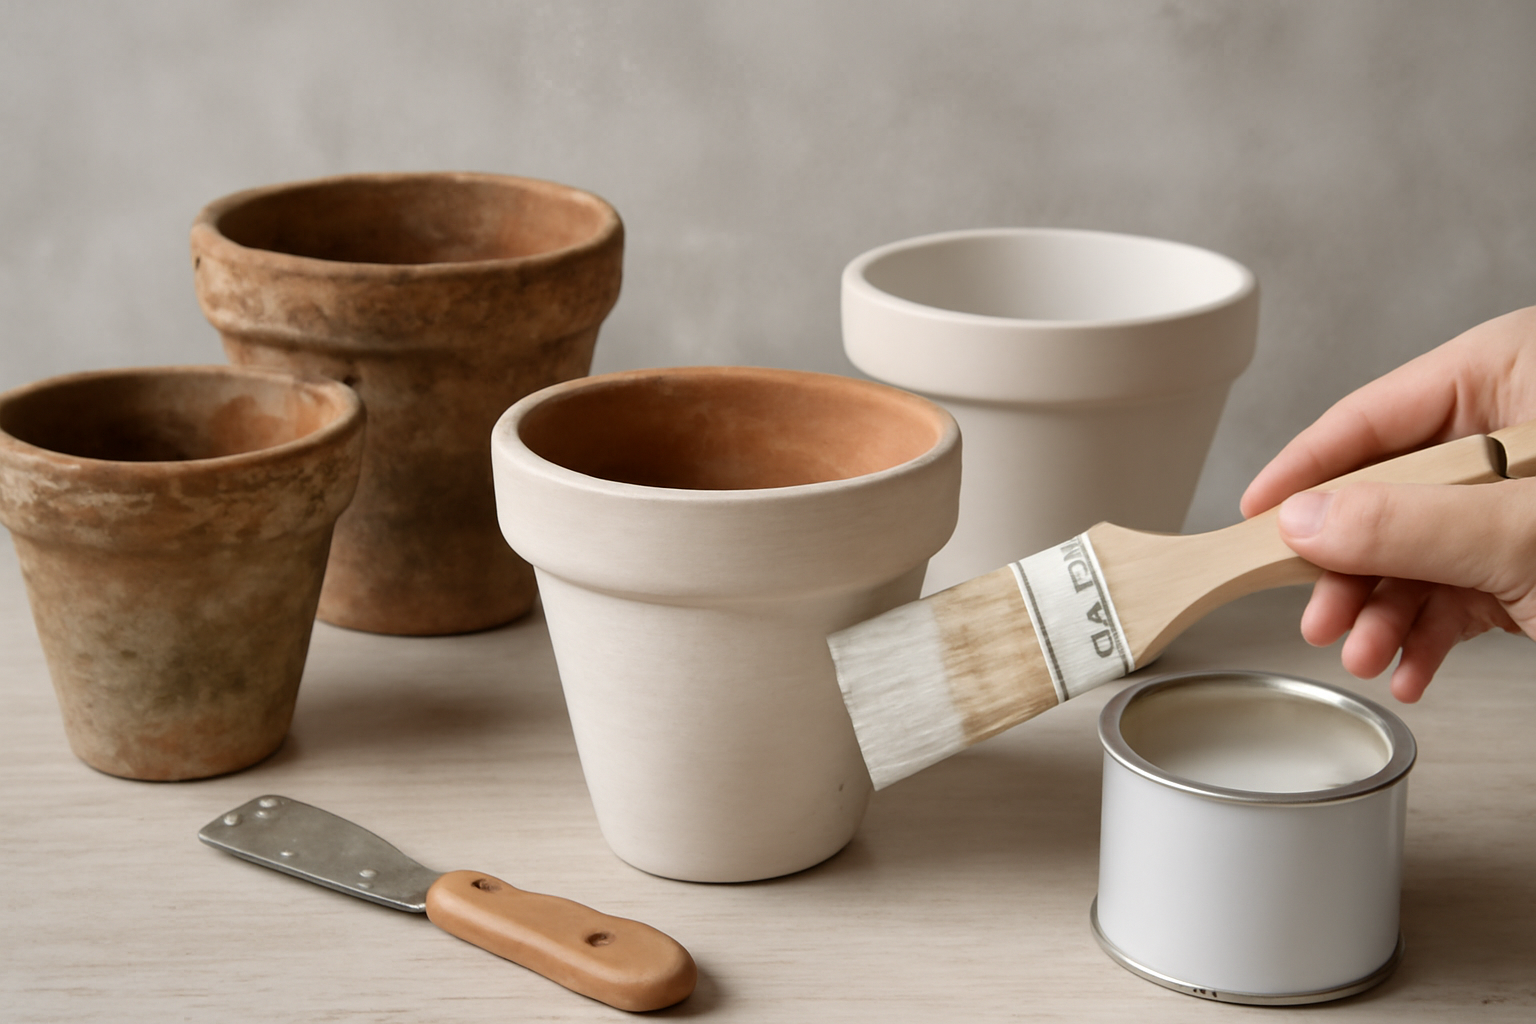
- Solid Color: A simple, solid coat of paint in your favorite color can completely change the look of a pot. Use a spray paint or acrylic paint, depending on your pot’s material. For a more polished look, consider using a primer before painting.
- Patterns: If you want to get more creative, use painter’s tape to create geometric patterns like stripes, chevrons, or triangles. This technique gives your pot a modern, clean look.
- Ombre Effect: To create a soft, gradient look, choose two or more complementary colors and blend them together using a sponge or a brush. The ombre effect works beautifully on terracotta or ceramic pots, giving them a fresh, trendy feel.
2. Decoupage Designs
If you’re looking for a unique way to decorate your pots, decoupage is a great technique to consider. This involves gluing decorative paper or fabric onto the surface of your pot and then sealing it with a clear finish. It’s a perfect way to create a personalized pot with your favorite patterns or textures.
To decoupage your pots:
- Choose paper or fabric with vibrant colors, floral patterns, or vintage designs that fit your style.
- Cut the paper into small pieces or use fabric swatches to cover the surface of the pot.
- Apply a thin layer of Mod Podge or decoupage glue to the pot and press the paper or fabric onto it.
- Once the pot is covered, add a layer of Mod Podge over the paper to seal it and make it durable.
- Allow it to dry completely before planting your favorite greenery inside.
This technique is perfect for creating a boho-chic or vintage-inspired pot, and you can mix and match patterns to create a more eclectic look.
3. Wrap Pots with Rope or Twine
For a rustic, farmhouse-style look, wrapping your old pots with rope, twine, or jute is a simple and effective way to give them a fresh, natural feel. This technique works well for both large and small pots and is especially great for terracotta pots.
To wrap your pots:
- Start by applying a small amount of glue or hot glue around the top edge of the pot.
- Begin wrapping the rope or twine around the pot, ensuring it’s tightly wound and even. You can overlap the rope to create a layered effect or leave small gaps for a more minimalist look.
- Continue wrapping the rope until you reach the bottom of the pot. Cut off any excess rope, and glue the end securely to prevent it from unraveling.
- Optionally, you can add decorative touches like a small wooden tag, fabric flowers, or buttons to make the pot more unique.
This technique is particularly ideal for creating a rustic or coastal-inspired decor in your home.
4. Create a Mosaic Design
For a more intricate and artistic design, consider creating a mosaic pattern on your plant pot. This method involves gluing small pieces of tile, glass, or ceramic to the surface of the pot, creating a colorful and textured design.
To create a mosaic:
- Gather small, colorful tiles, broken ceramics, or even glass pieces. You can buy mosaic tiles at craft stores or repurpose old dishes and glassware.
- Plan your design—whether it’s a floral pattern, geometric design, or random patchwork.
- Using a strong adhesive, glue the pieces onto the pot. Start from the base and work your way up.
- Once the entire pot is covered, allow the adhesive to dry completely.
- Apply grout over the tiles, smoothing it into the gaps. Wipe away excess grout with a damp cloth.
- Allow the grout to dry, and your pot is ready to be displayed.
A mosaic design is perfect for creating a vibrant, artistic look that can become the centerpiece of your plant display.
5. Add Metallic Finishes for a Glam Touch
If you want to give your old pots a more glamorous, sophisticated appearance, consider adding a metallic finish. Gold, silver, or copper can bring a touch of luxury to any pot, making it perfect for a modern or industrial decor.
To achieve a metallic finish:
- Apply a coat of primer to the pot to help the paint adhere better.
- Once the primer has dried, paint the pot with metallic spray paint or acrylic paint. Gold or copper are popular choices for a luxe finish.
- For added texture, consider using a metallic leaf or foil to cover specific sections of the pot for a gilded look.
- Seal the paint with a clear, glossy varnish to ensure it remains durable and shiny.
This technique is perfect for creating a chic, modern vibe in your home and works well for minimalist or contemporary designs.
Final Touches: Sealing and Protecting Your Pot
After refreshing your old plant pots with DIY techniques, it’s important to protect your designs. For most projects, using a clear sealer or topcoat will help preserve the paint, glue, or fabric you applied. This is especially important for pots that will be exposed to outdoor elements or frequent watering. Use a waterproof sealer or polyurethane to ensure that your pot stays looking beautiful for years to come.
Conclusion
Refreshing old plant pots with DIY projects is an easy and affordable way to update your decor. Whether you choose to paint, decoupage, wrap with rope, create a mosaic, or add a metallic finish, there are countless ways to transform your pots and make them feel brand new. With a little creativity and effort, you can turn tired, old pots into stunning, one-of-a-kind pieces that will enhance the beauty of your plants and brighten up your home. Recycle, repurpose, and make your old plant pots shine with these simple DIY techniques!